Crossfade Clips
Note that any hidden clip audio data in either clip at the junction (or gap) will be discarded.
For more details on the use and management of clips please see Audacity Tracks and Clips
Note carefully that when you apply an effect to a time-stretched clip the changed speed of the clip will be automatically rendered.
|
- Accessed by:
- There are no parameters to set for this effect; the effect operates on the audio that is currently selected.
- If the crossfade takes an appreciable time, a progress dialog will appear as below:
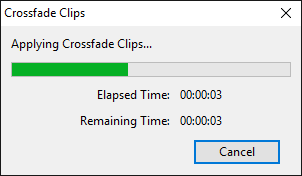
- Crossfade Clips progress dialog
Instructions
- Place two audio clips into the same track.
- Select (approximately) the same amount of audio from the end of one clip and the start of the other.
- Apply the effect.
- The selected regions will be crossfaded.
Note, the audio clips do not need to be touching. Any white-space between the clips is ignored.
If the selected region is continuous audio with no splits, the first half and last half of the selected audio will be crossfaded.
Limitations
These should not occur in normal usage:
- There may be no more than two clips selected in each channel.
- The selection may not start or end in white-space.
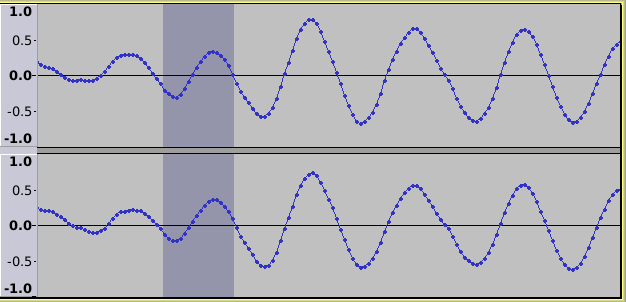
Examples
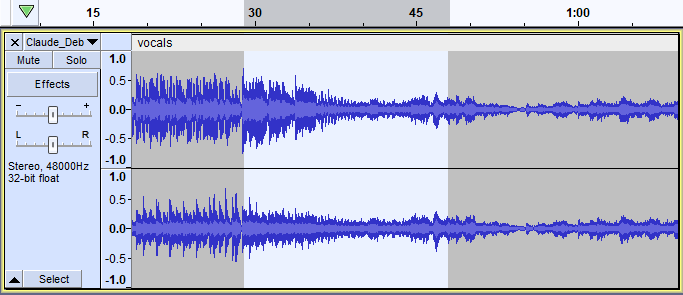
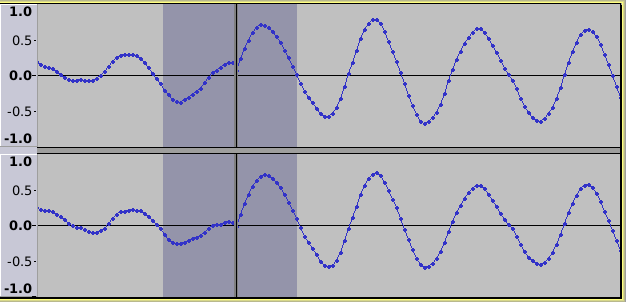
1) Place your audio clips end to end in a track.
2) Zoom in a bit.
3) Select the part that you want to crossfade (does not matter if the tracks are right up against each other or not - just select the parts to crossfade).

4) Select the .
5) Simple crossfade completed. Note that the clips are no joined, there is no longer a split and the clip takes the clip-name of the left-most clip.
You can use Crossfade Clips to fix glitches when there are no convenient zero crossing points for making a clean edit. 1) Audio surrounding the glitch is selected
2) Using repairs the glitch.