Extra Menu: Scriptables I
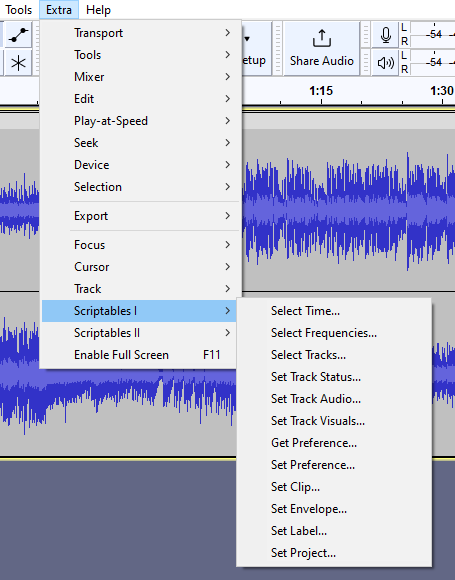
Many of these commands have optional values.
|
Select <something>
The Select Time, Select Frequencies and Select Tracks options all are used to select audio. There is also a Select dialog that combines all three.
| Many more complex macros and scripting depend on the select command. It is worth spending time to understand the options in this command. |
Select Time
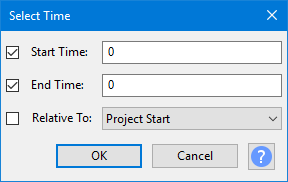
- Start Time and End Time are times.
- Normally they are times in seconds as shown by the ruler.
- However setting Relative To to a value other than 'Project Start' will give other behaviour.
| Relative To | Meaning | ||
|---|---|---|---|
| Project Start | Start and end times are both relative to the ruler, starting at 0. | ||
| Project | Start time is relative to the ruler time 0. End time is relative to the end of the project. | ||
| Project End | Both times are relative to the end of the project and are measured right to left.
| ||
| Selection Start | Start and end times are both relative to the start of the selection. | ||
| Selection | Start time is relative to the start of the selection. End time is relative to the end of the selection.
| ||
| Selection End | Both times are relative to the end of the selection and are measured right to left.
|
Select Frequencies
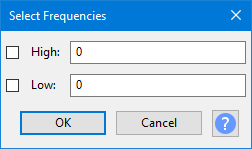
- High and Low are for spectral selection.
- They select a frequency range which is relevant in certain effects.
Select Tracks
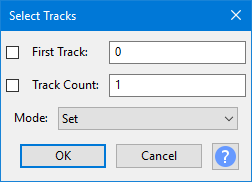
- First Track is the number of the first track, starting at 0.
- Track Count is the number of tracks. The default is 1.
- You can set Track Count to 0 to select no tracks (there can still be a time selection in that case).
- Very occasionally useful, First Track and Track Count can both use fractional values, like 0.5, which can be used to select a channel of a stereo track.
- One use of selecting a channel rather than a whole track, is in a script to resize the two channels of a stereo track to different heights.
- The Mode parameter allows arbitrary track selections, e.g adding or removing tracks from the current track selection.
Set Track <Something>
The Set Track Status, Set Track Audio and Set Track Visuals dialogs all set properties of the currently selected tracks. There is also a compound version of the dialog that combines all three.
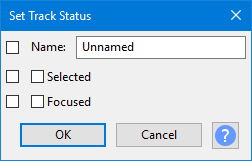
Set Track Status
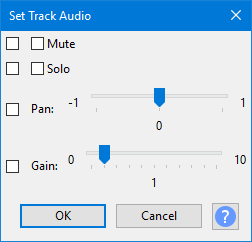
Set Track Audio
Set Track Visuals
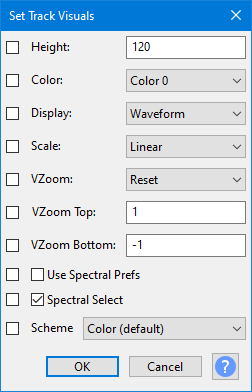
Sets properties for a track or channel (or both). Setting one channel of a stereo track can lead to interesting results. That's most used when setting relative sizing of the two channels.
SpectralPrefs=1 sets the track to use general preferences, SpectralPrefs=0 per track prefs. When using general preferences, SetPreference can be used to change a preference and so affect display of the track.
Name is used to set the name. It is not used in choosing the track. Scheme is used to set the colorway for spectrograms.
Get Preference
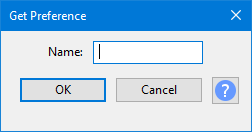
Gets a single preference setting.
| 'GetInfo: Preferences' is often more useful. It gets a list of preferences all at once |
Set Preference
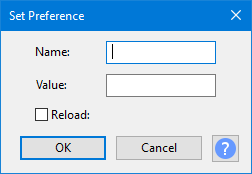
Sets a single preference setting. Some settings such as changing the theme require a reload (use Reload=1), but reload takes time and slows down a script.
Set Clip
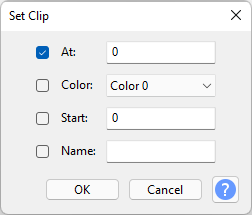
Modify a clip by stating the track or channel and a time within it.
Color, clip name and start position can be set.
Try to avoid overlapping clips, as Audacity will allow it, but does not like them.
Set Envelope
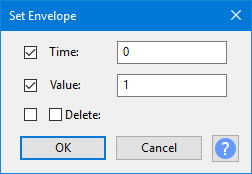
Modify an envelope by specifying a track or channel and a time within it.
You cannot yet delete individual envelope points, but can delete envelopes (that contain the chosen time) using Delete=1.
Set Label
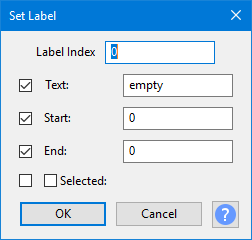
Modifies an existing label. You must give it the label number.
Set Project

Sets the project window to a particular location and size. Also sets the Project Rate. Can also change the caption - but that is cosmetic and may be overwritten again later by Audacity.